Part 3, all the stuff you’ll need
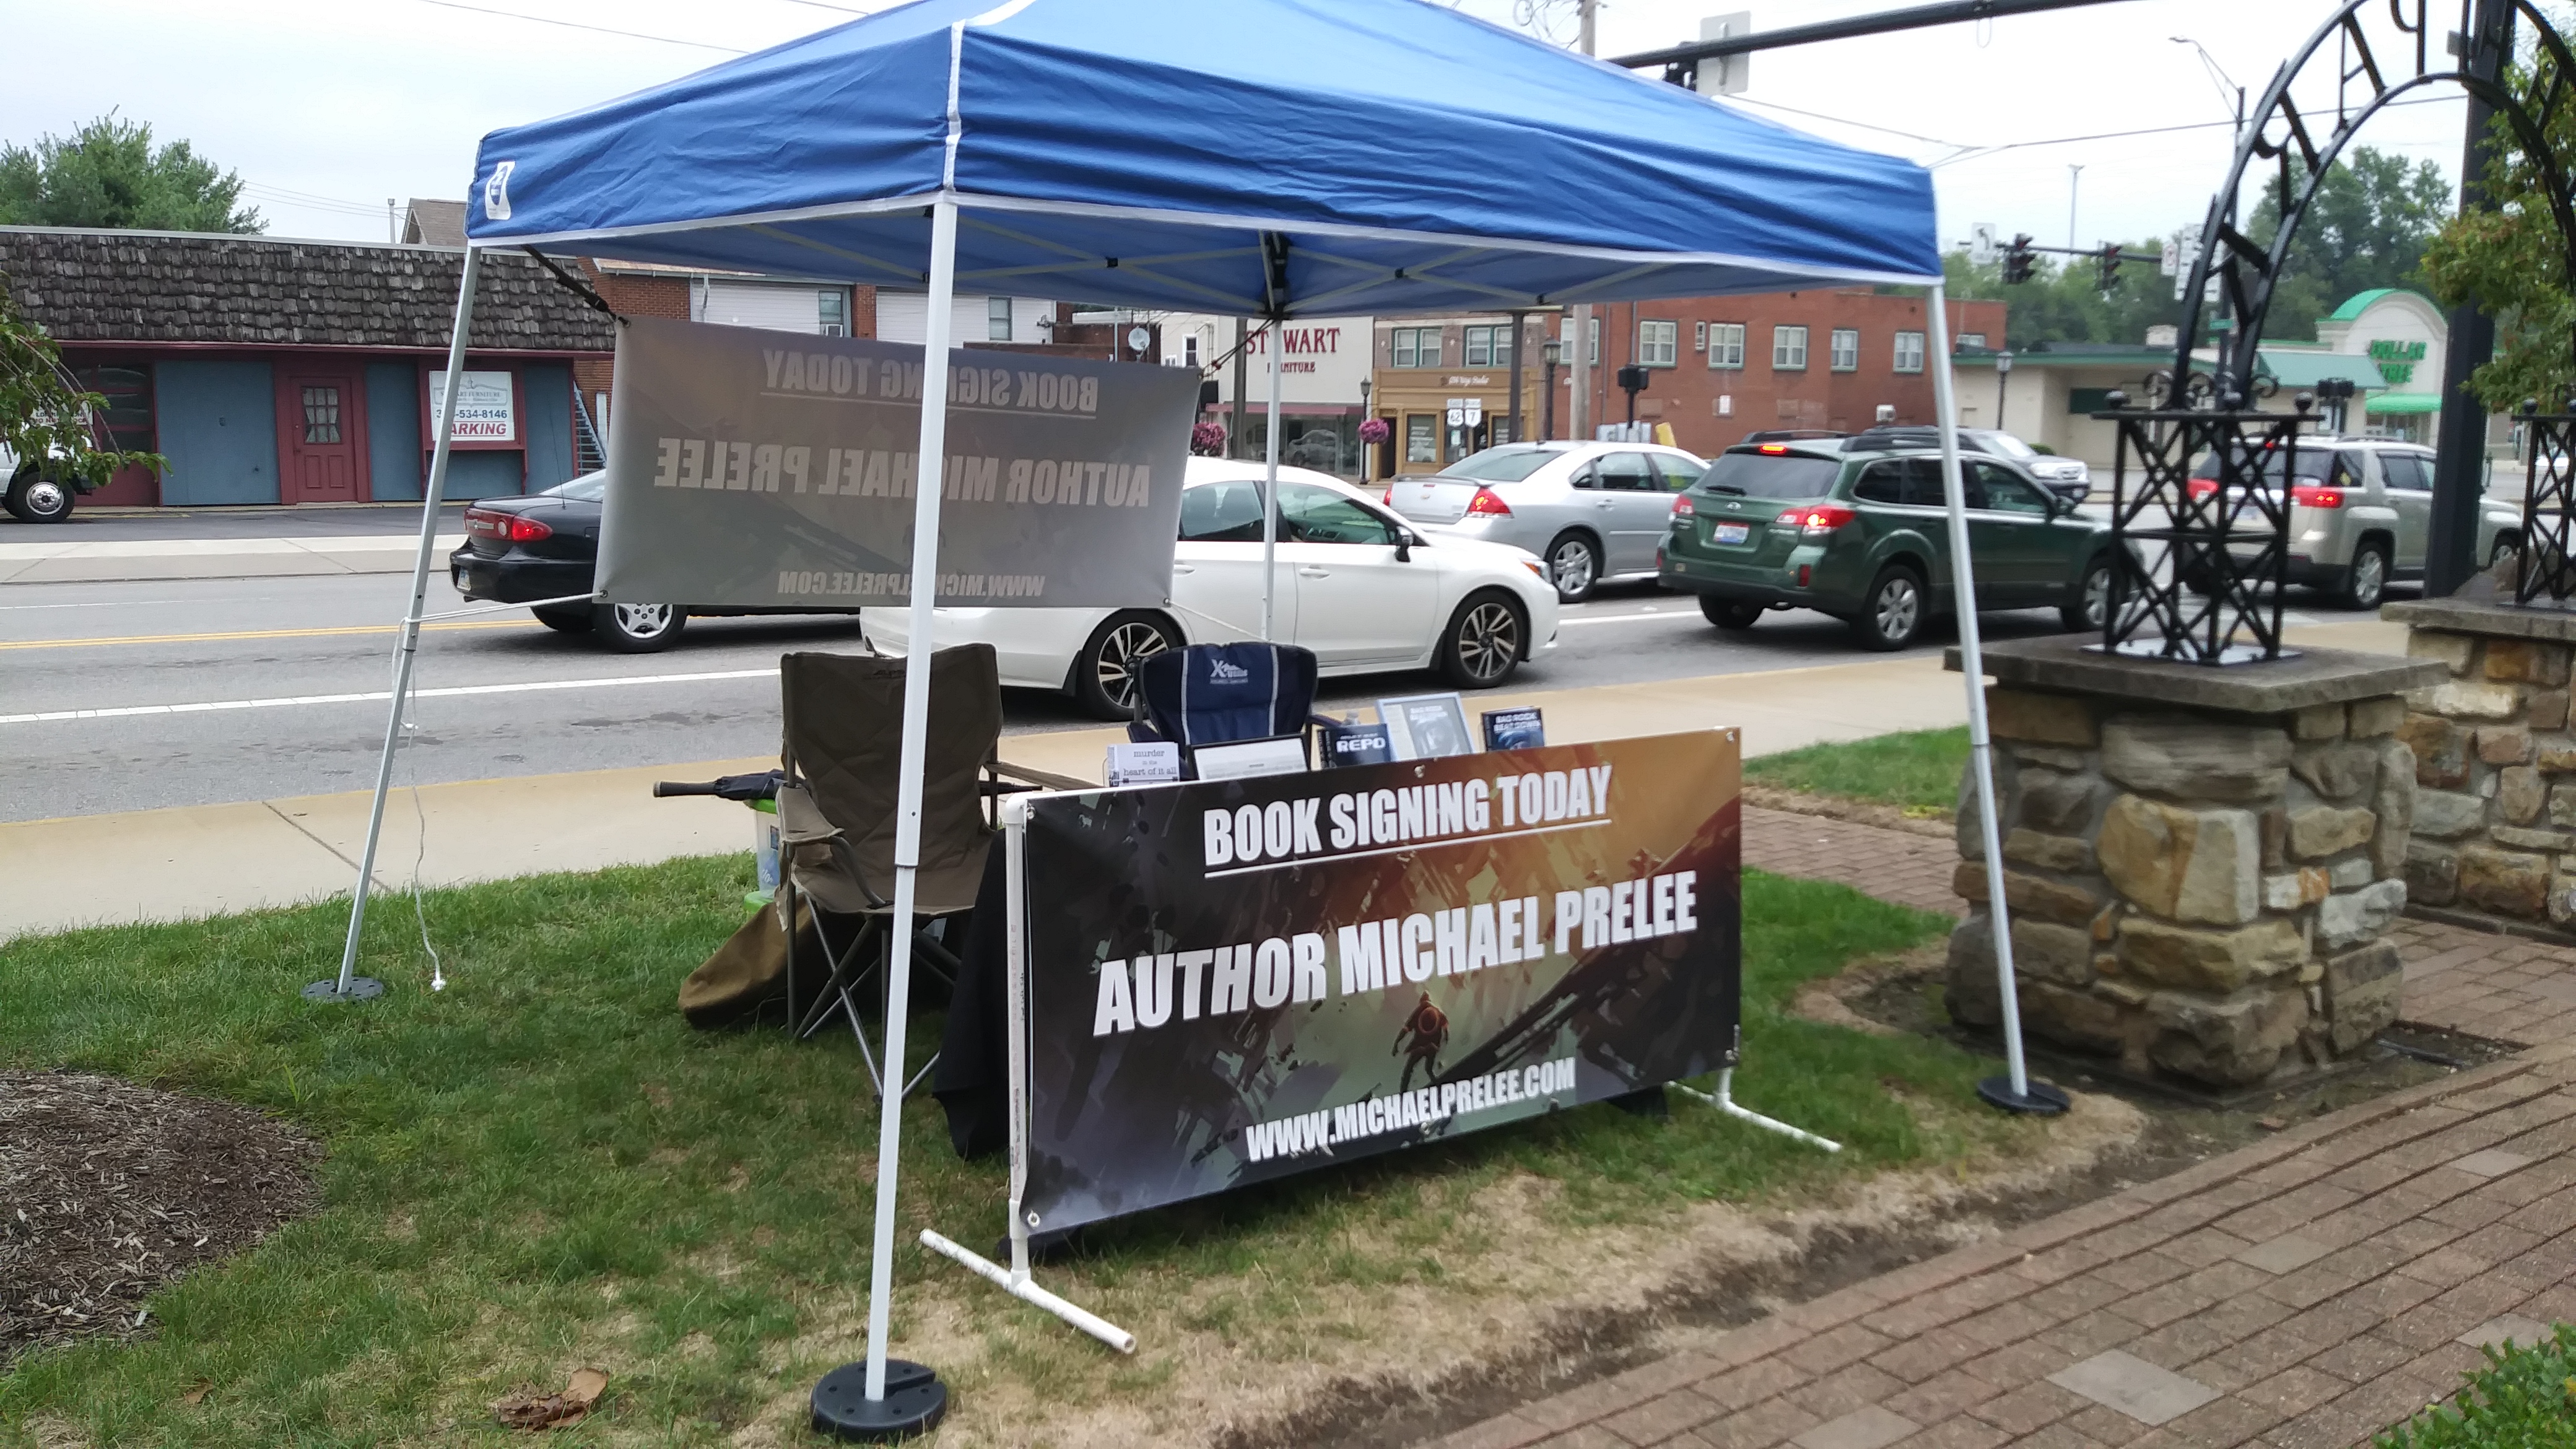
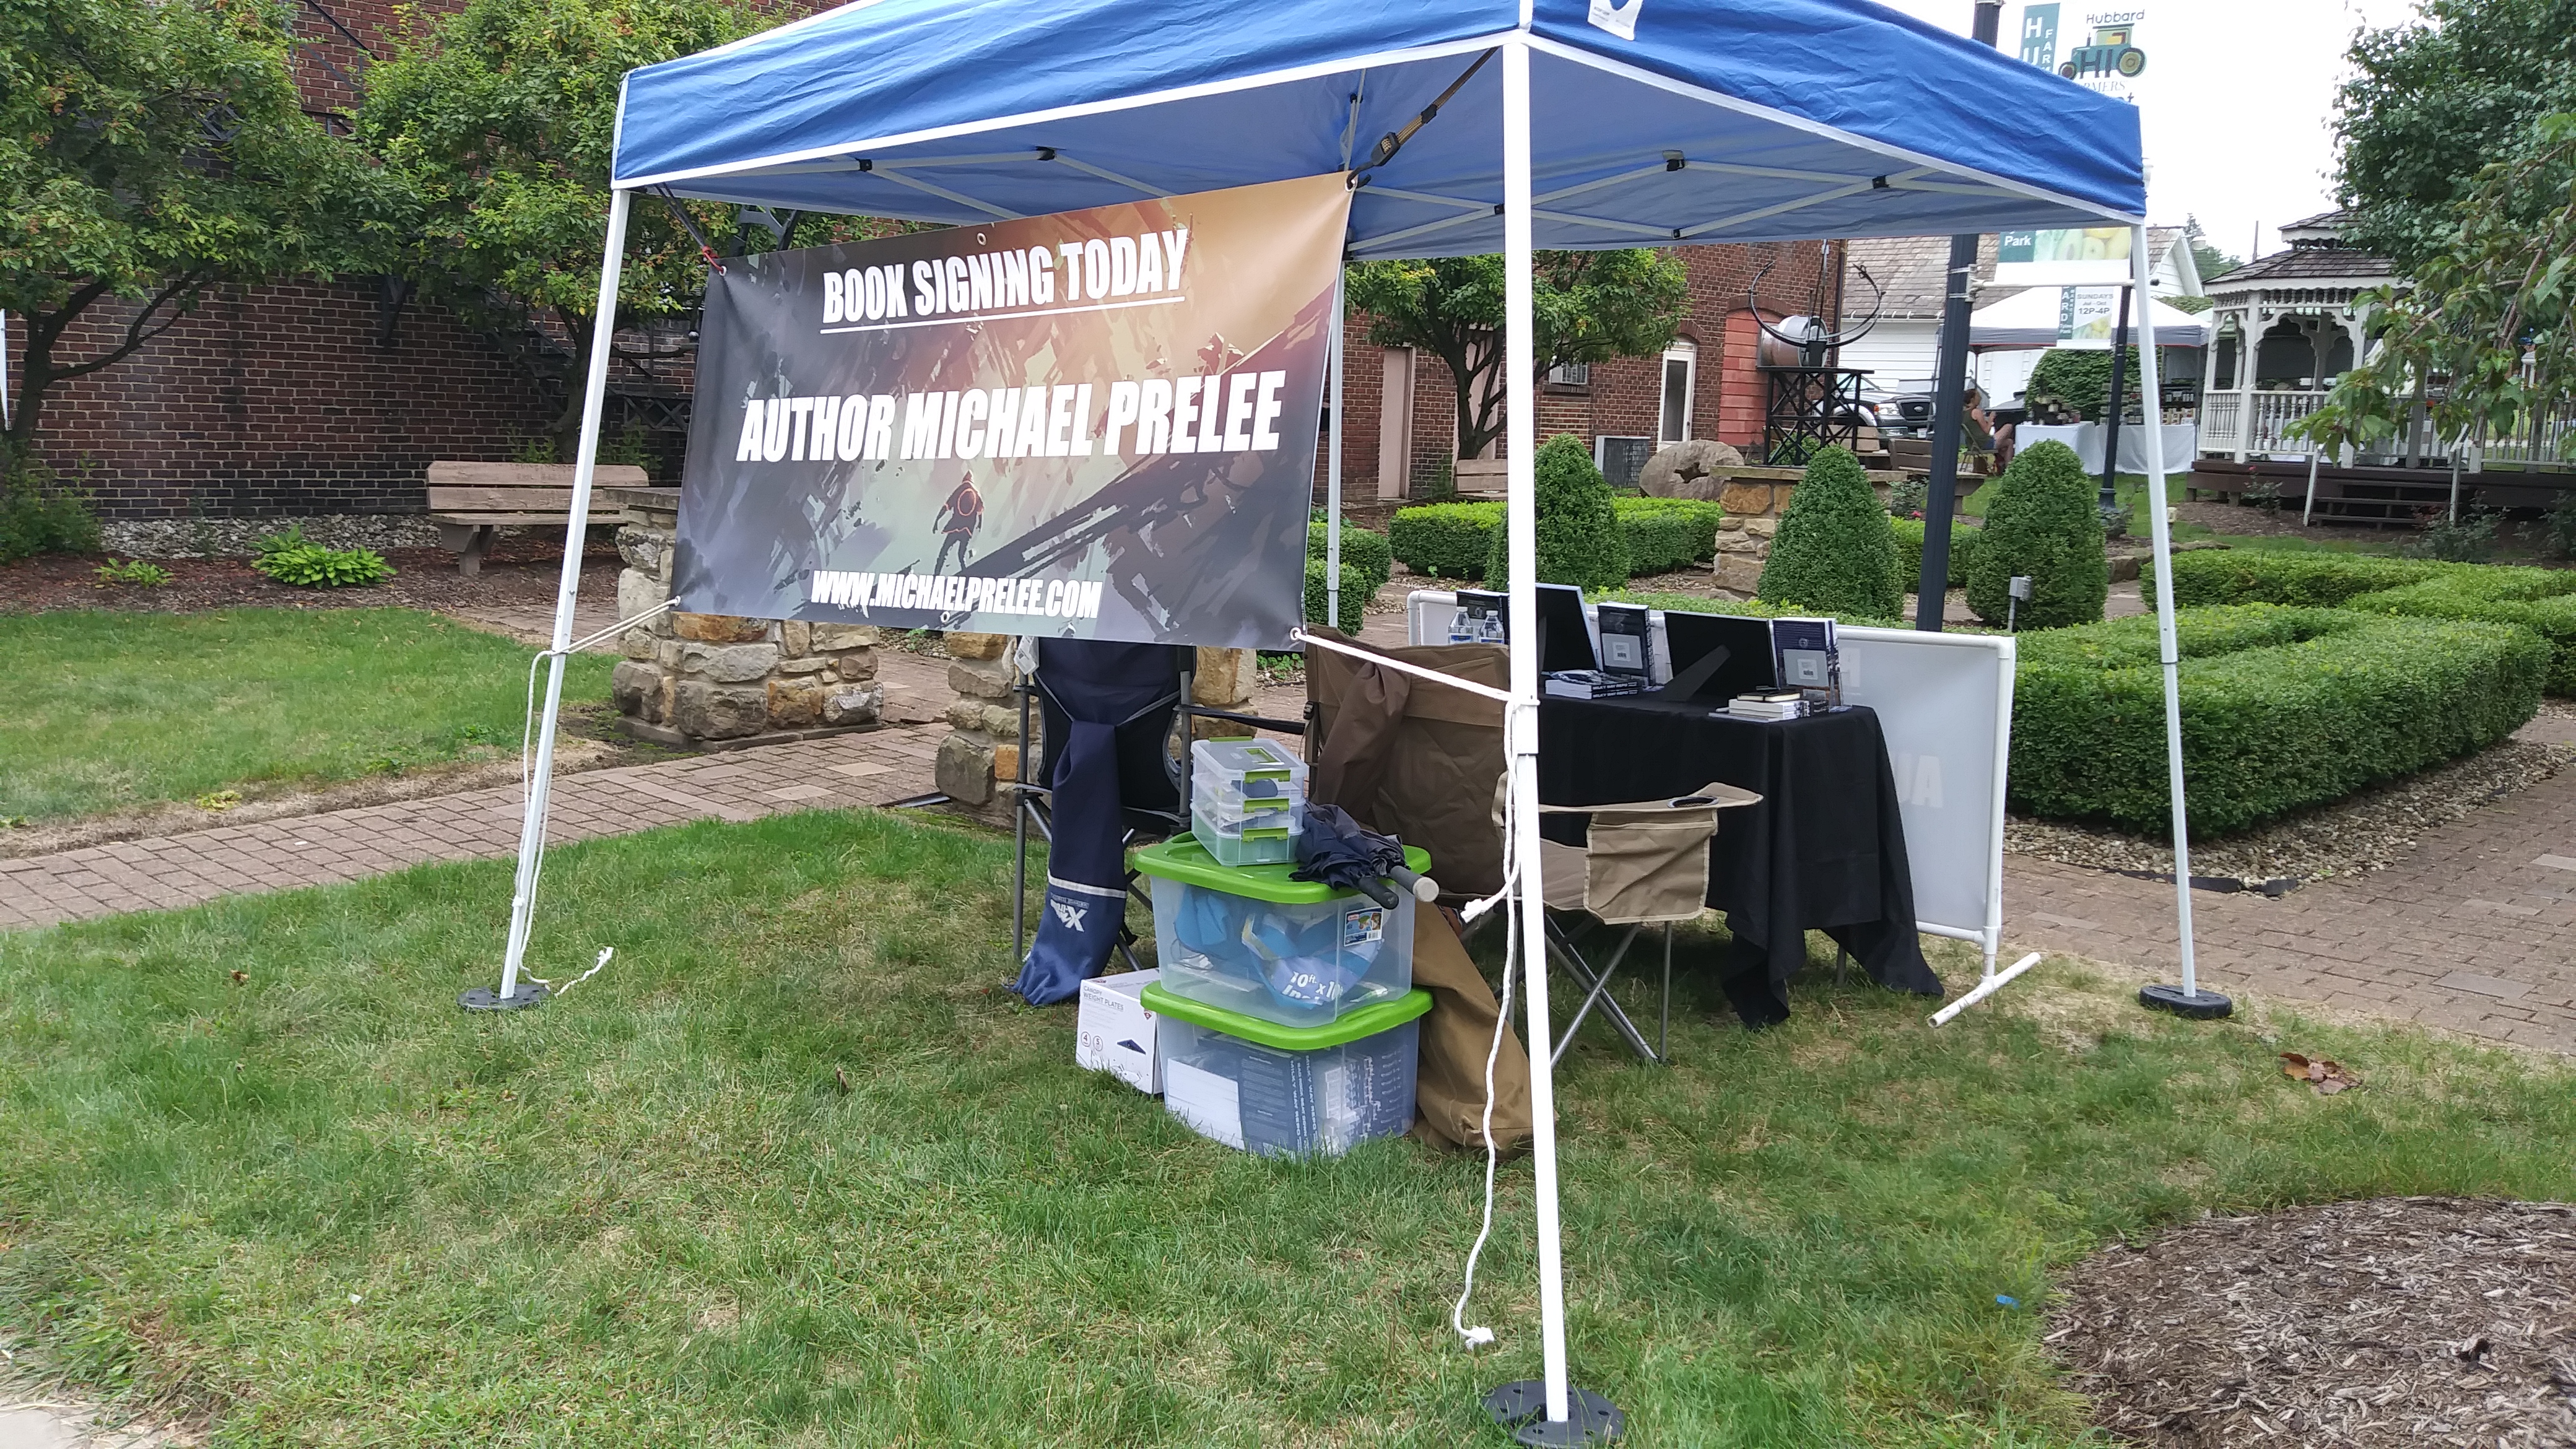
In this series, I’m talking about my experiences selling books outside of bookstores, in venues such as farmer’s markets, craft shows, and anywhere else vendors are invited. In previous installments I’ve spoken about setting up your table for sales and using signage and banners to attract readers to your booth.
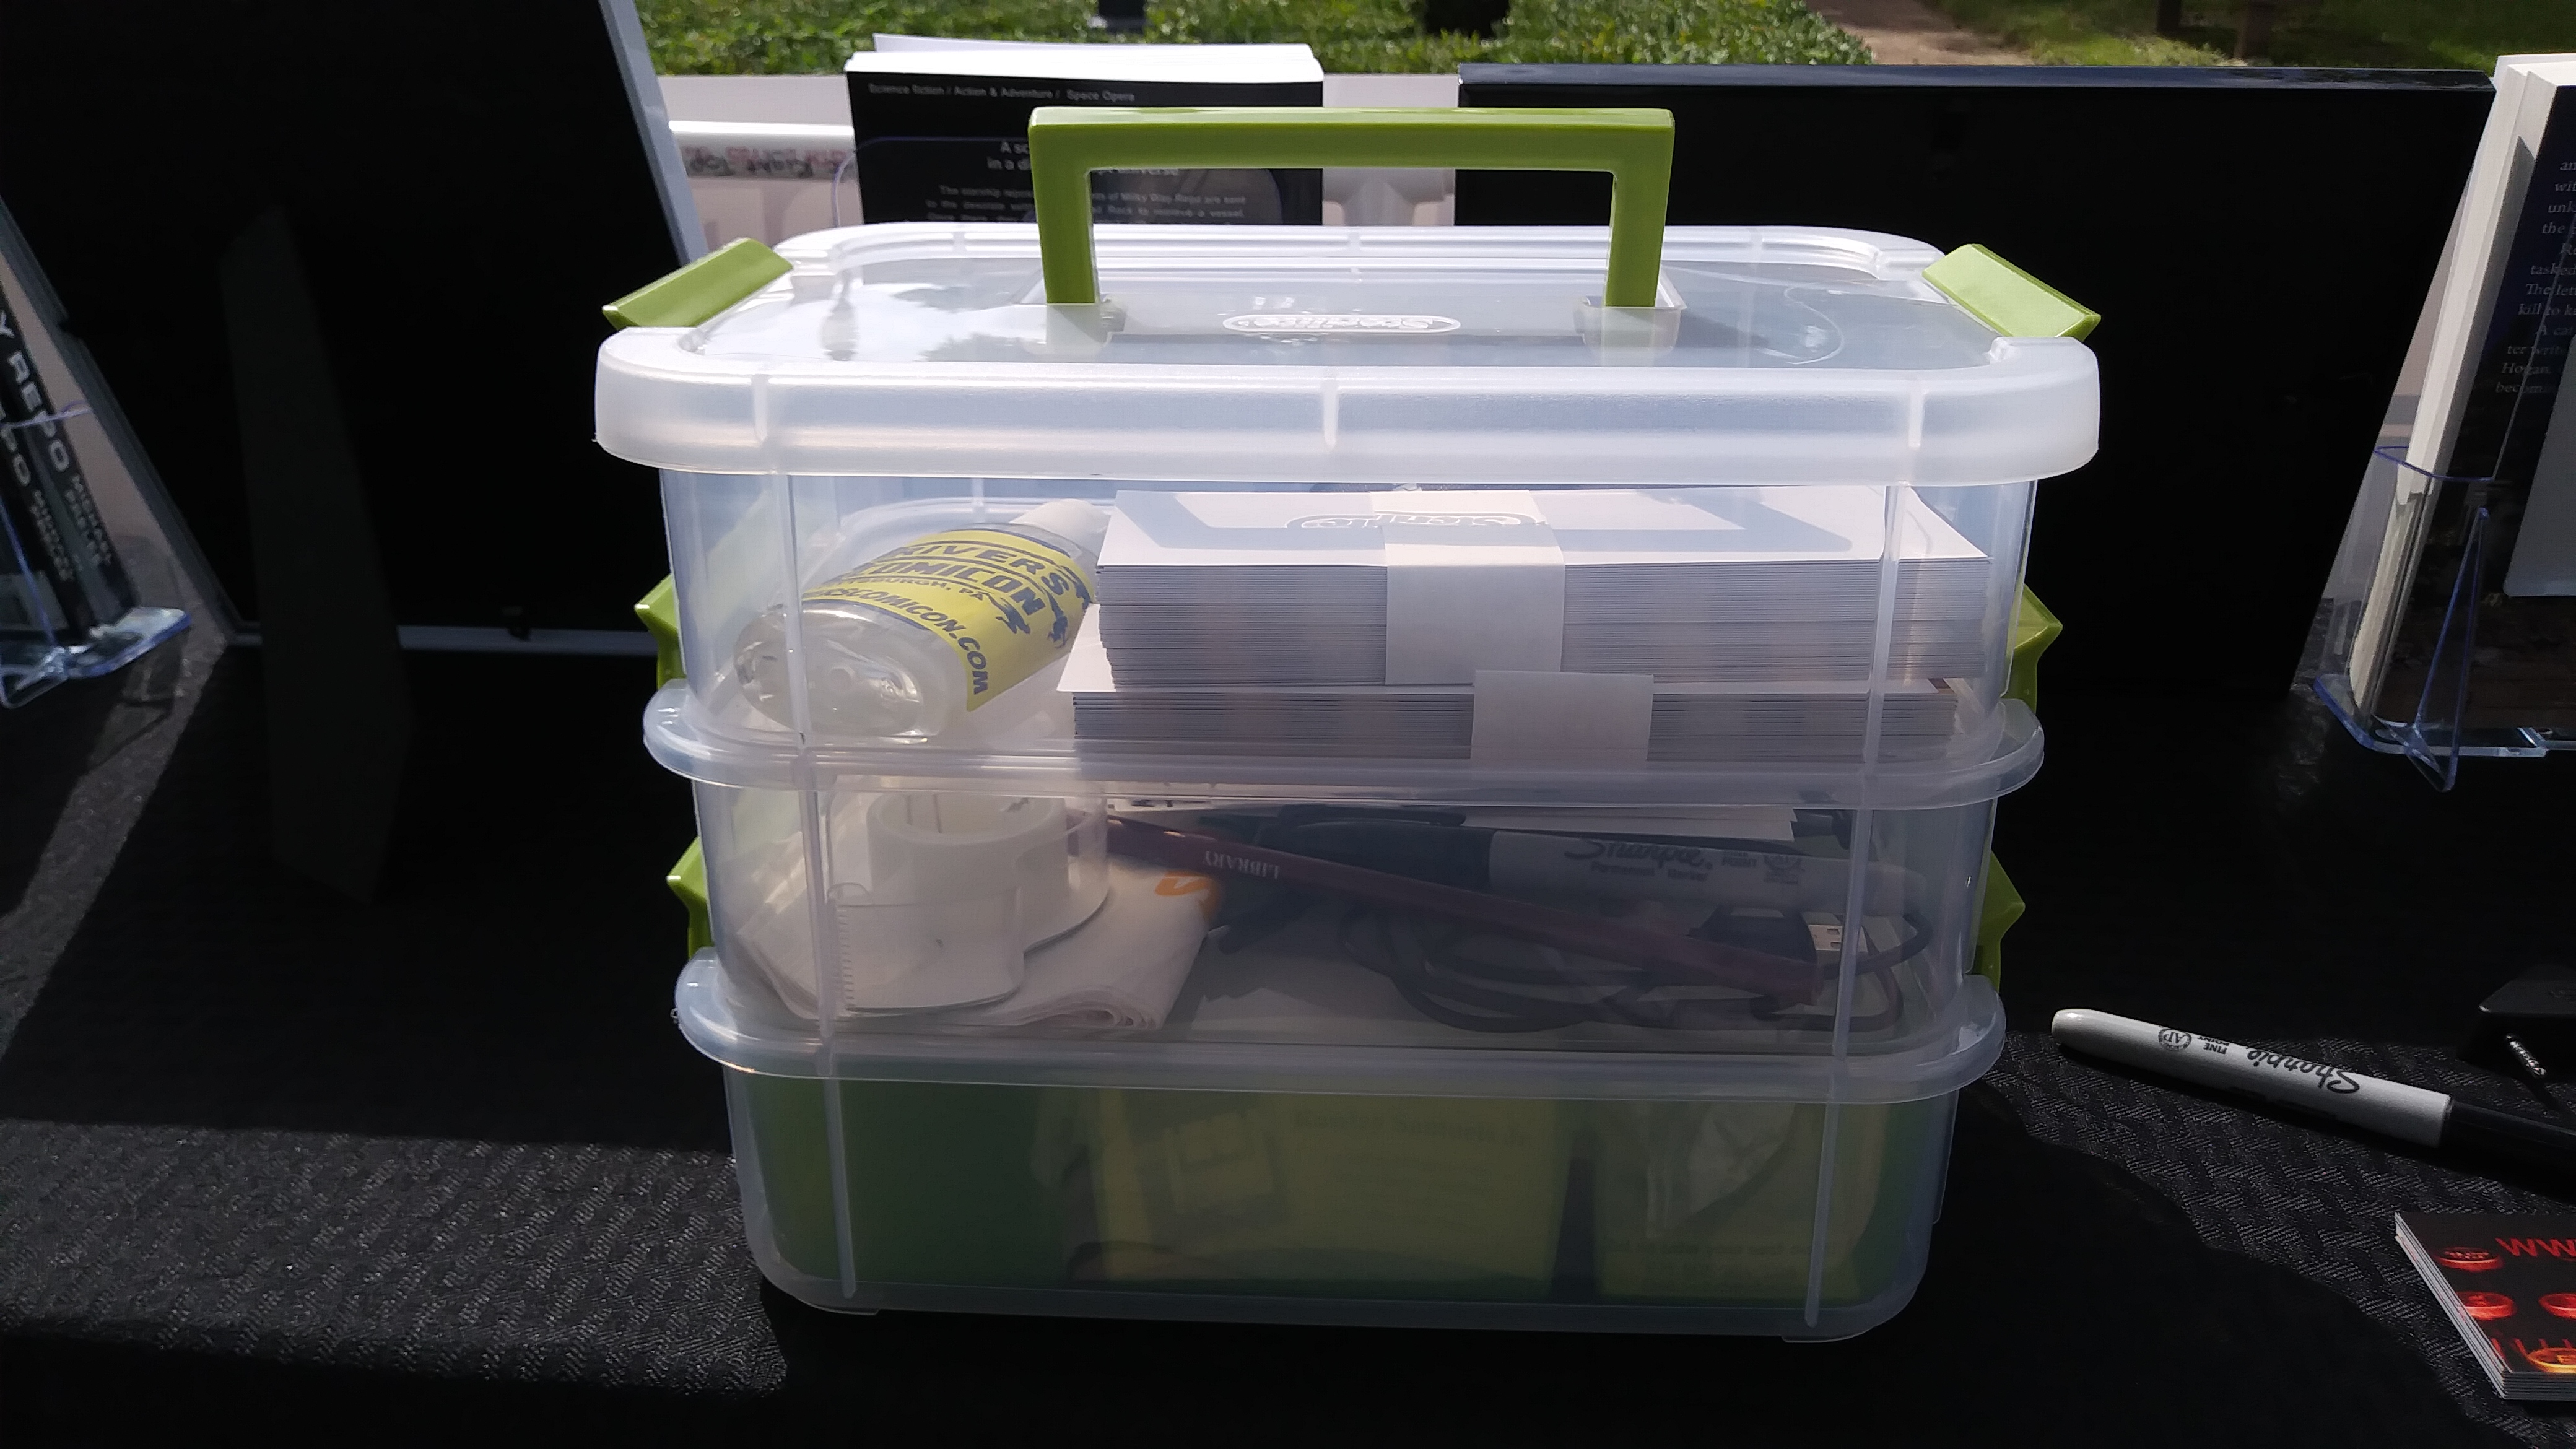
Today I’ll be speaking about all the stuff you’ll need to support your endeavors. My kit is a simple stacked box that contains everything I’ll need to deal with customers and keep myself comfortable at the event. This is what it looks like.
I swiped this one from the wife after she was nice enough to bring it home from the Dollar store. I’m sure she had a use for it, but I saw it on the counter which makes it fair game.
The top level has the items I use the most:

First and foremost, Sharpies for signing books. They last forever, the ink looks nice on the page, and they make the inscription look great. I buy them by the pack, so I always have extras.
Next up is my card reader. As mentioned in earlier installments, you have to treat your setup as a business. I speak from experience when I say you never, ever, want to turn away a customer because you can’t accept payment. Cash is great, but many people rely on credit and debit cards and you have to be ready to accept those payment options. I use a Paypal swipe reader plugged into my phone. It’s free and linked to my Paypal account. Other options include Square, Shopify, PayAnywhere, and others. I’ve had days at farmer’s markets and Christmas markets where I wouldn’t have had any sales without my card reader, so be prepared!
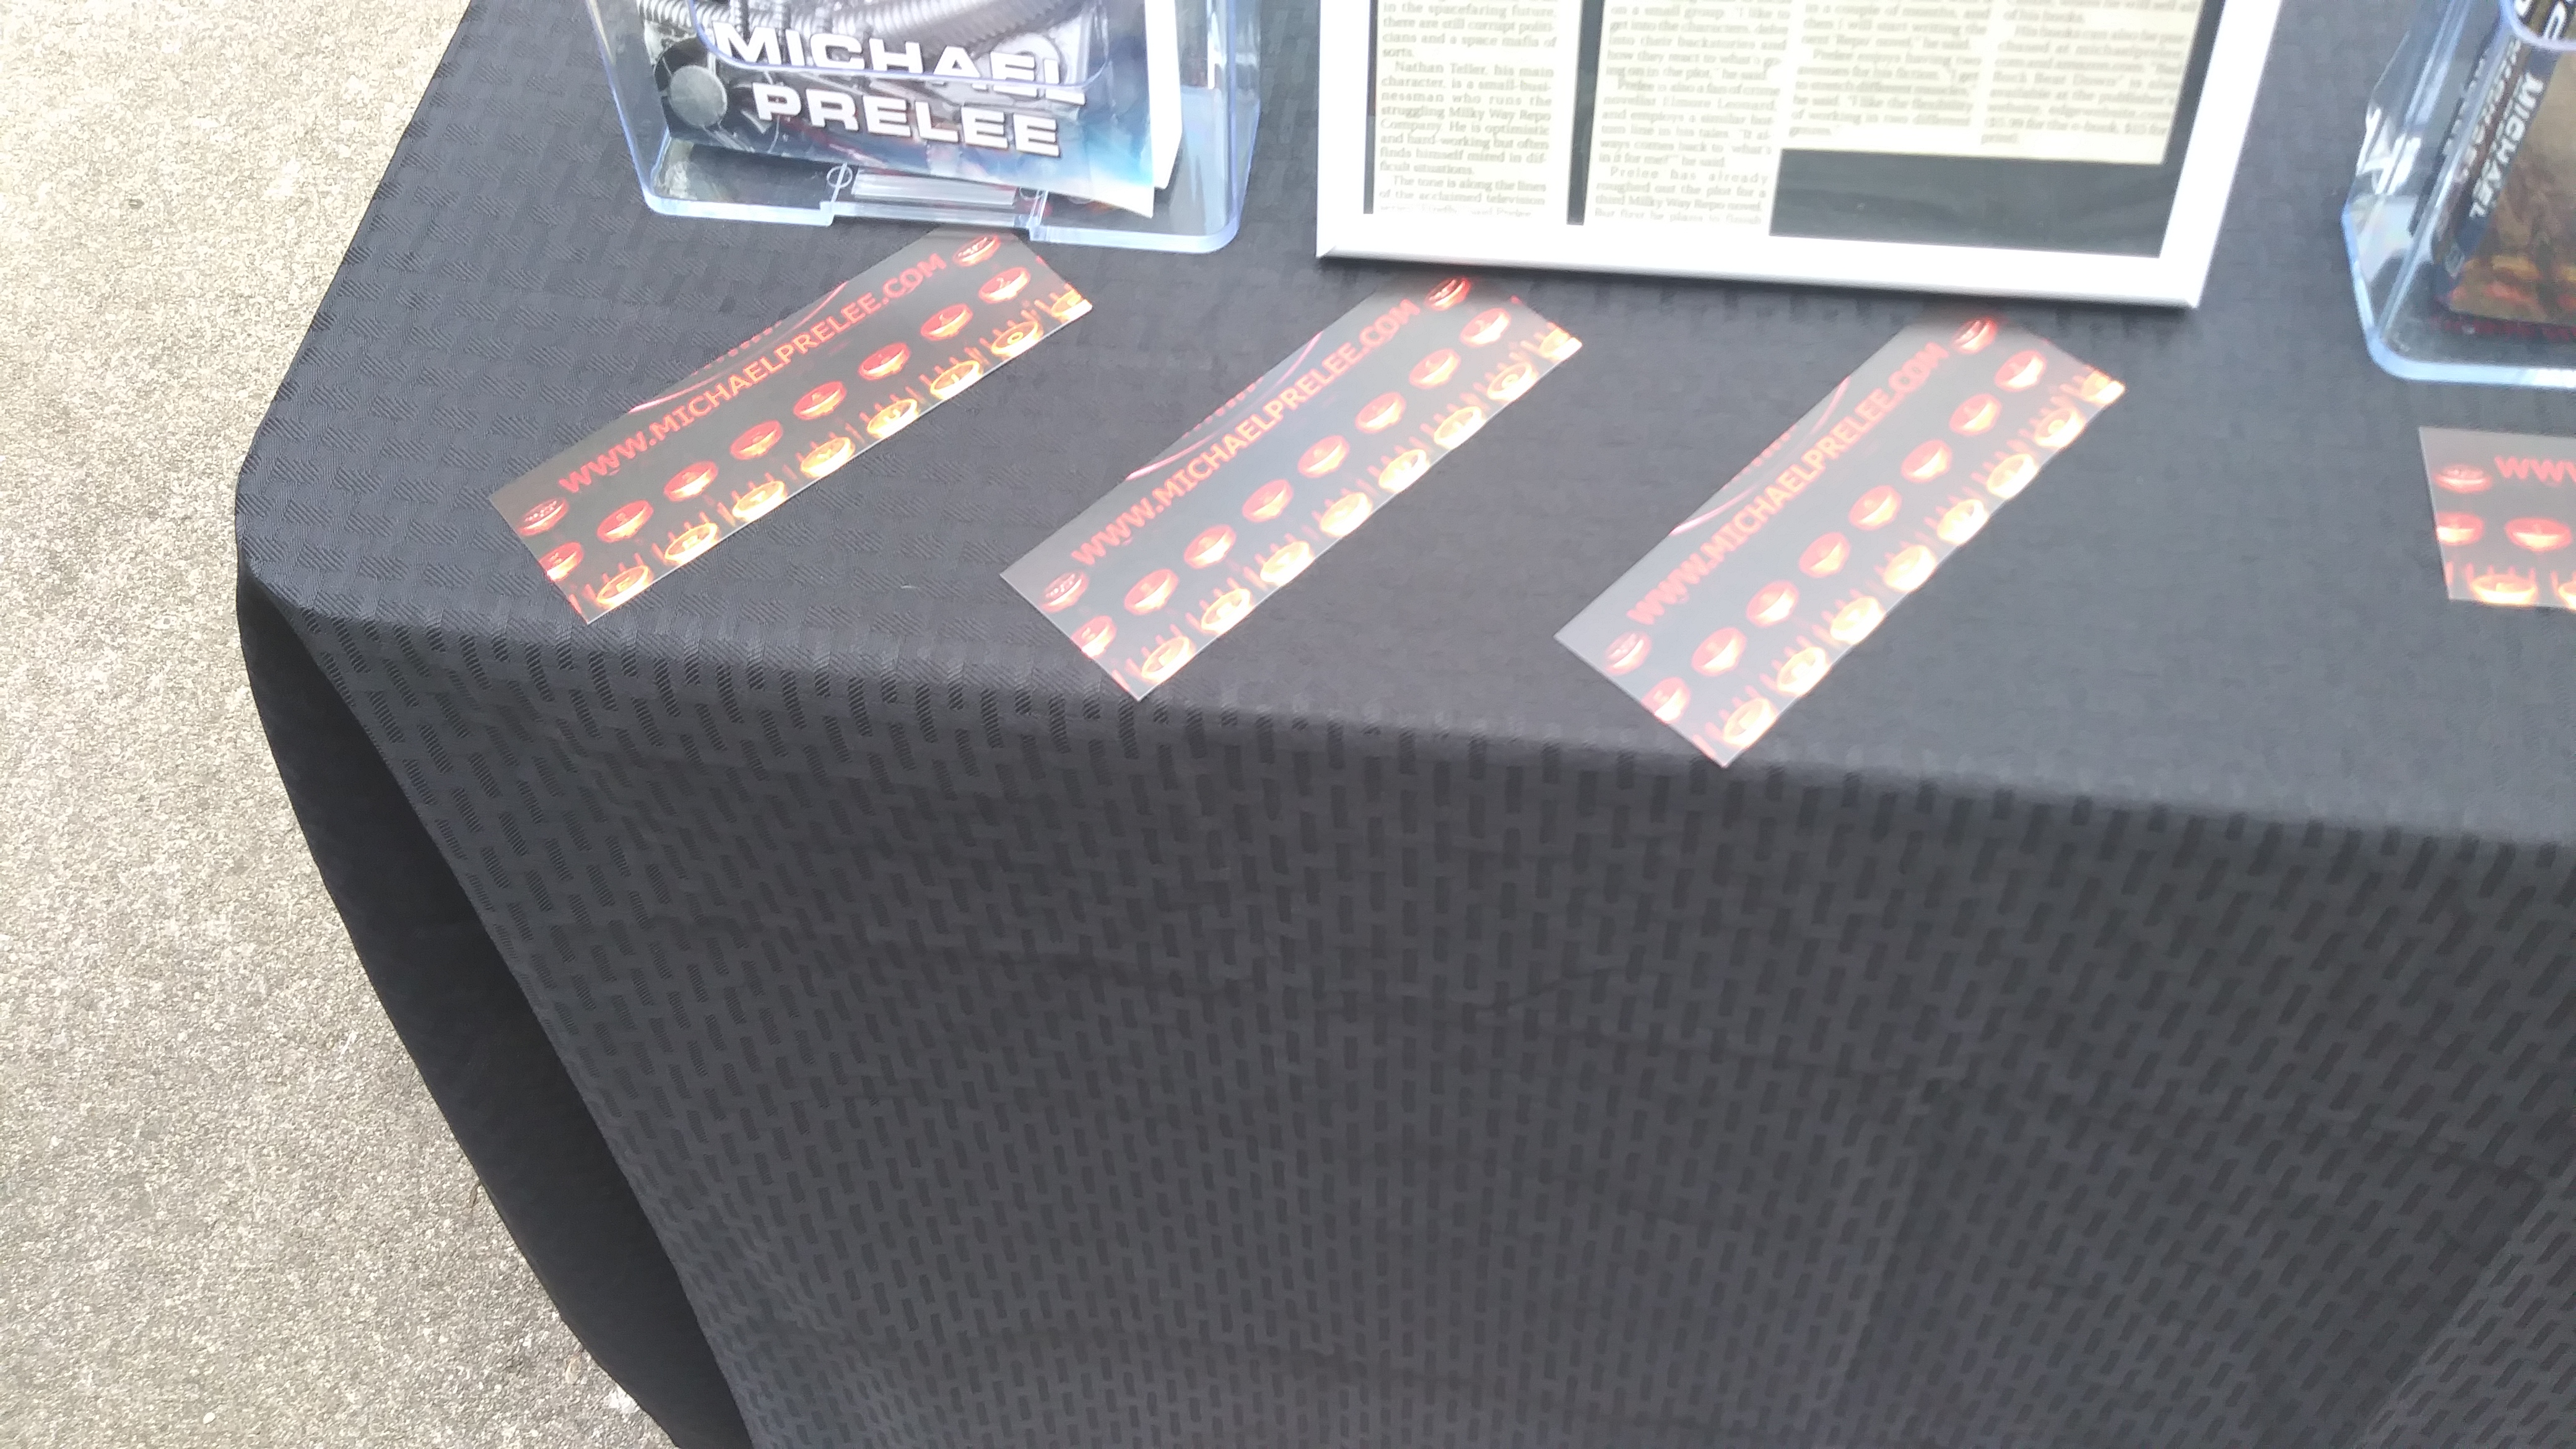
I also store my bookmarks here so they are easily accessible. One is included with each book I sell and I make sure to spread them out on the table. These are also great to hand out to potential customers who may not want to buy that day. It’s a callback that allows them to order your books later on from your website or third party vendors like Amazon.
Other items in the top layer are hand sanitizer, to keep yourself healthy, and a multi-tool. The multi-tool is good for trimming ropes when hanging banners, or fixing things that might break. It’s always good to have a pair of pliers or a screwdriver handy.
The next layer has items that used less frequently:
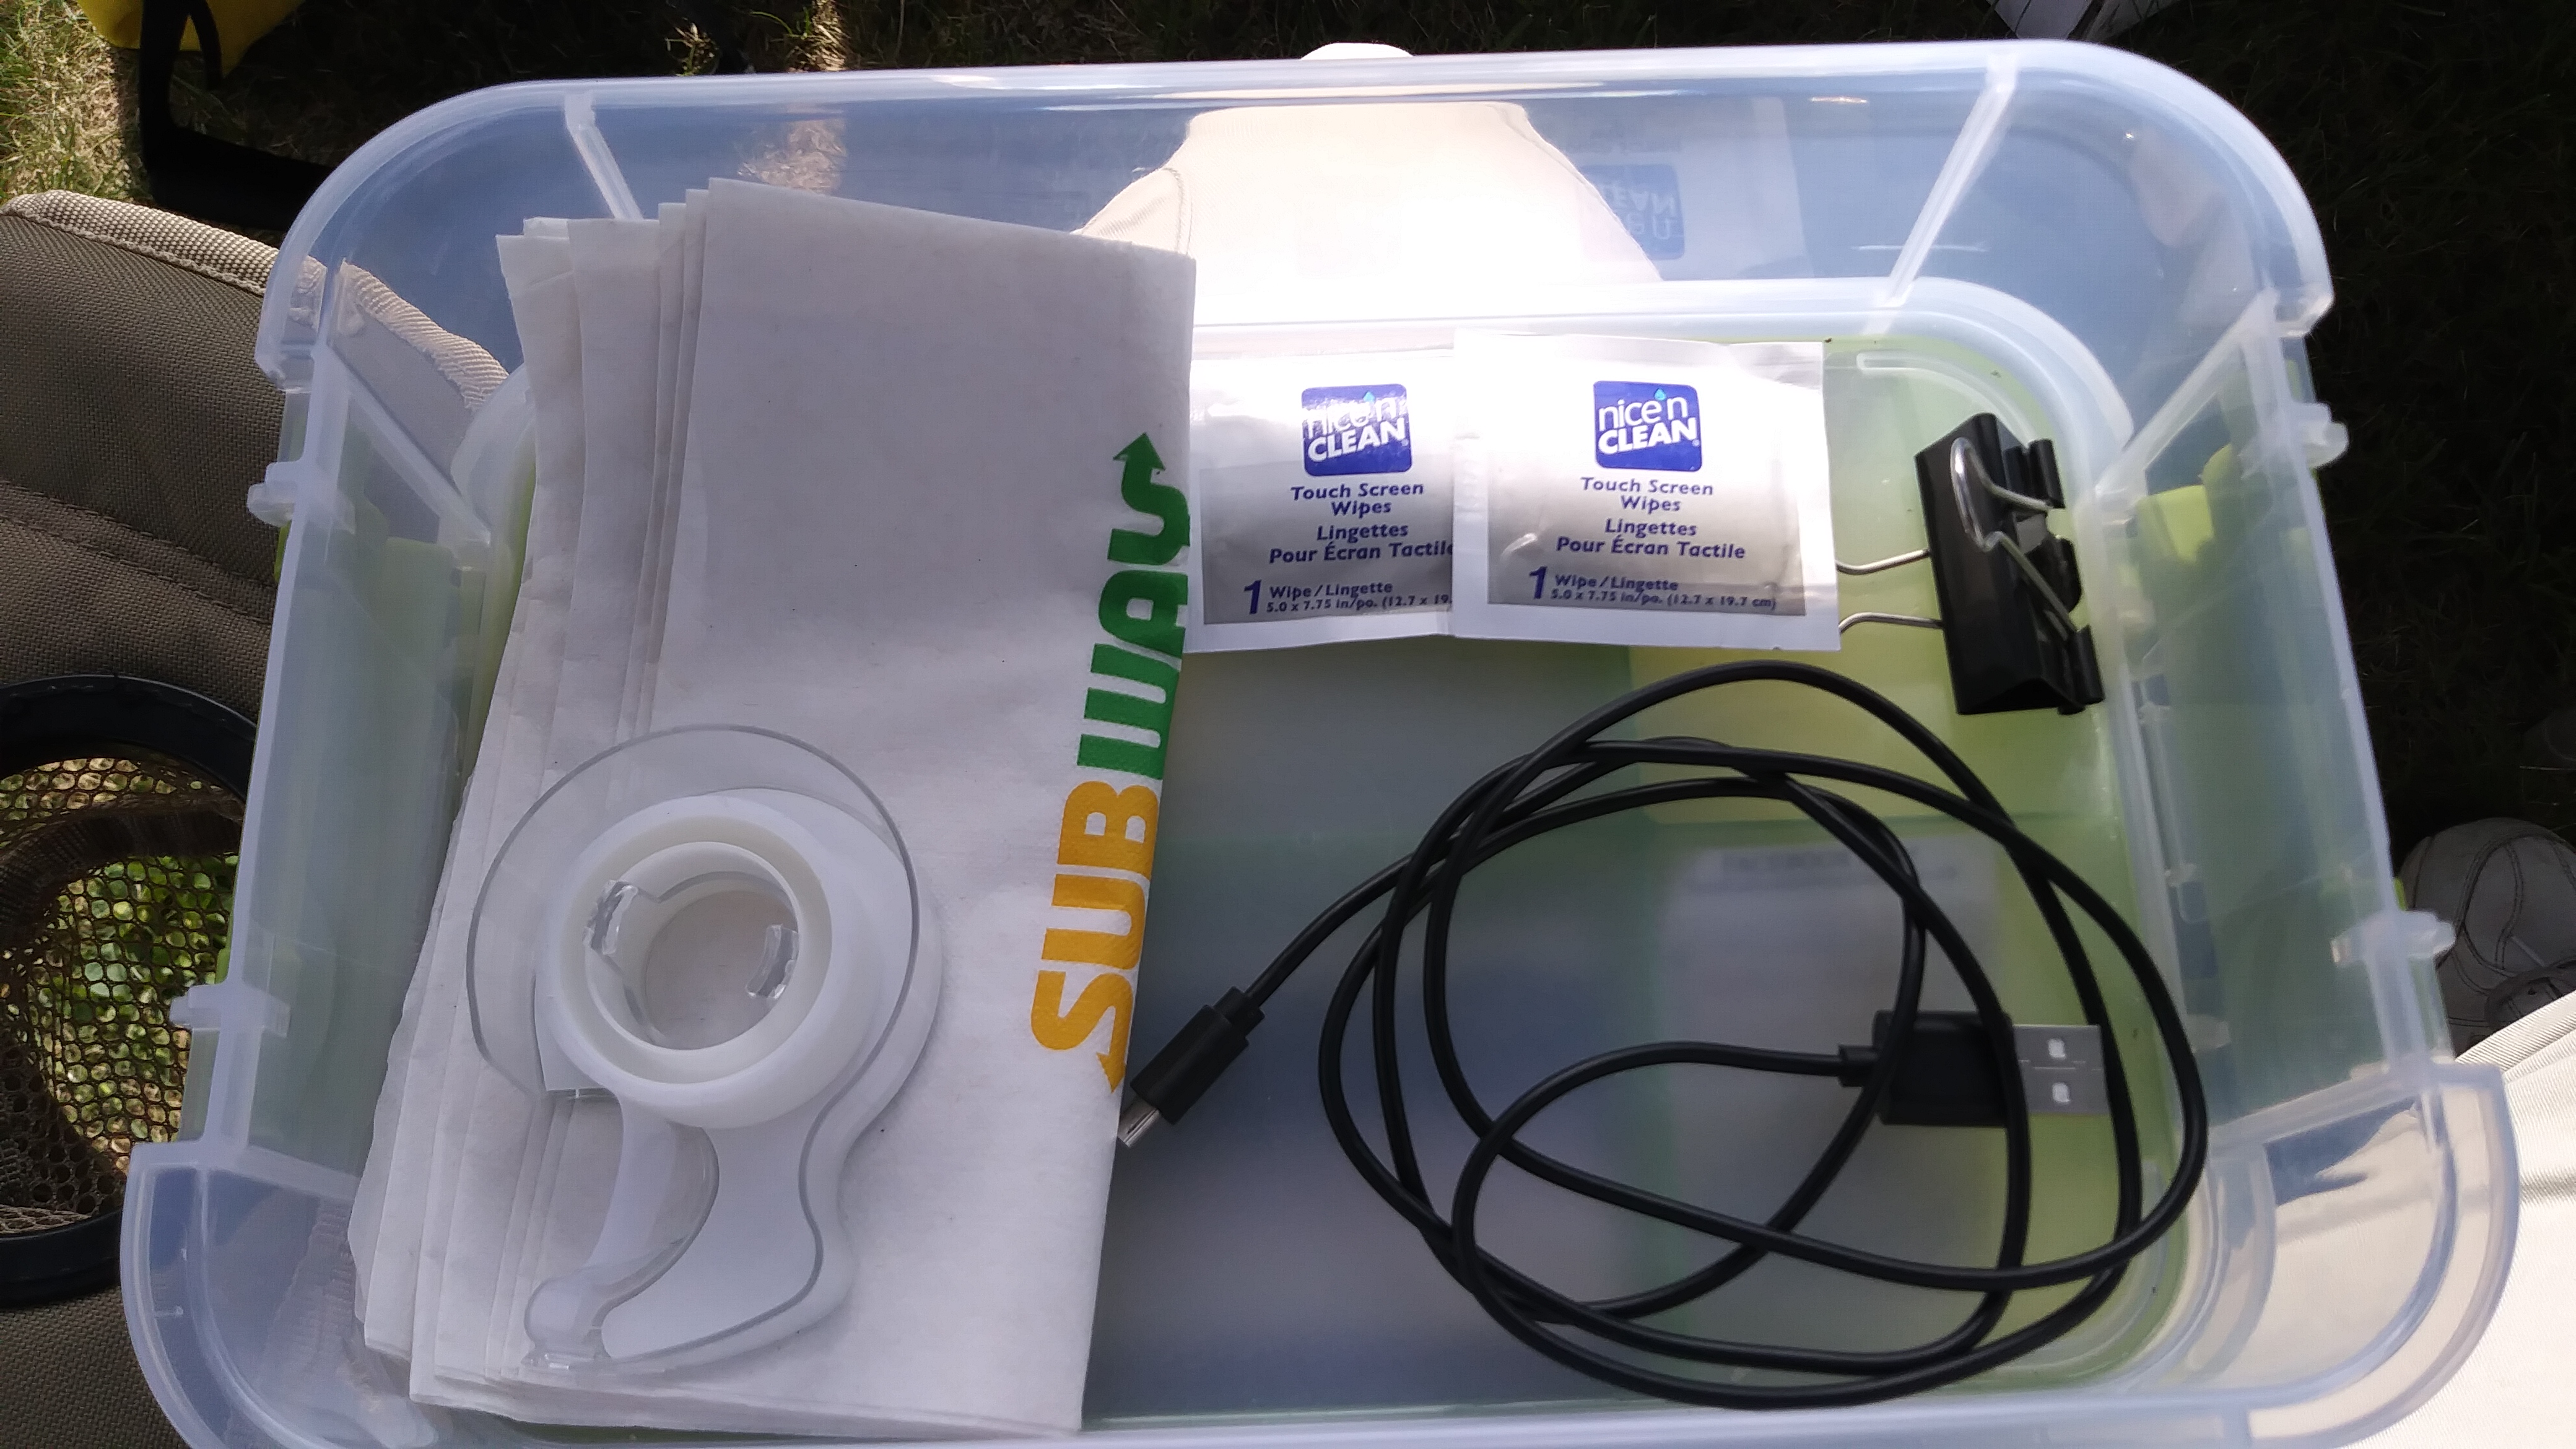
This is where I keep housekeeping items like USB cables and a battery to charge my cell phone, lens cleaner wipes, tape, napkins, binder clips to help hold down tablecloths on windy days, and anything else you might need.
The final level is where I store all the bookmarks and business cards I collect:
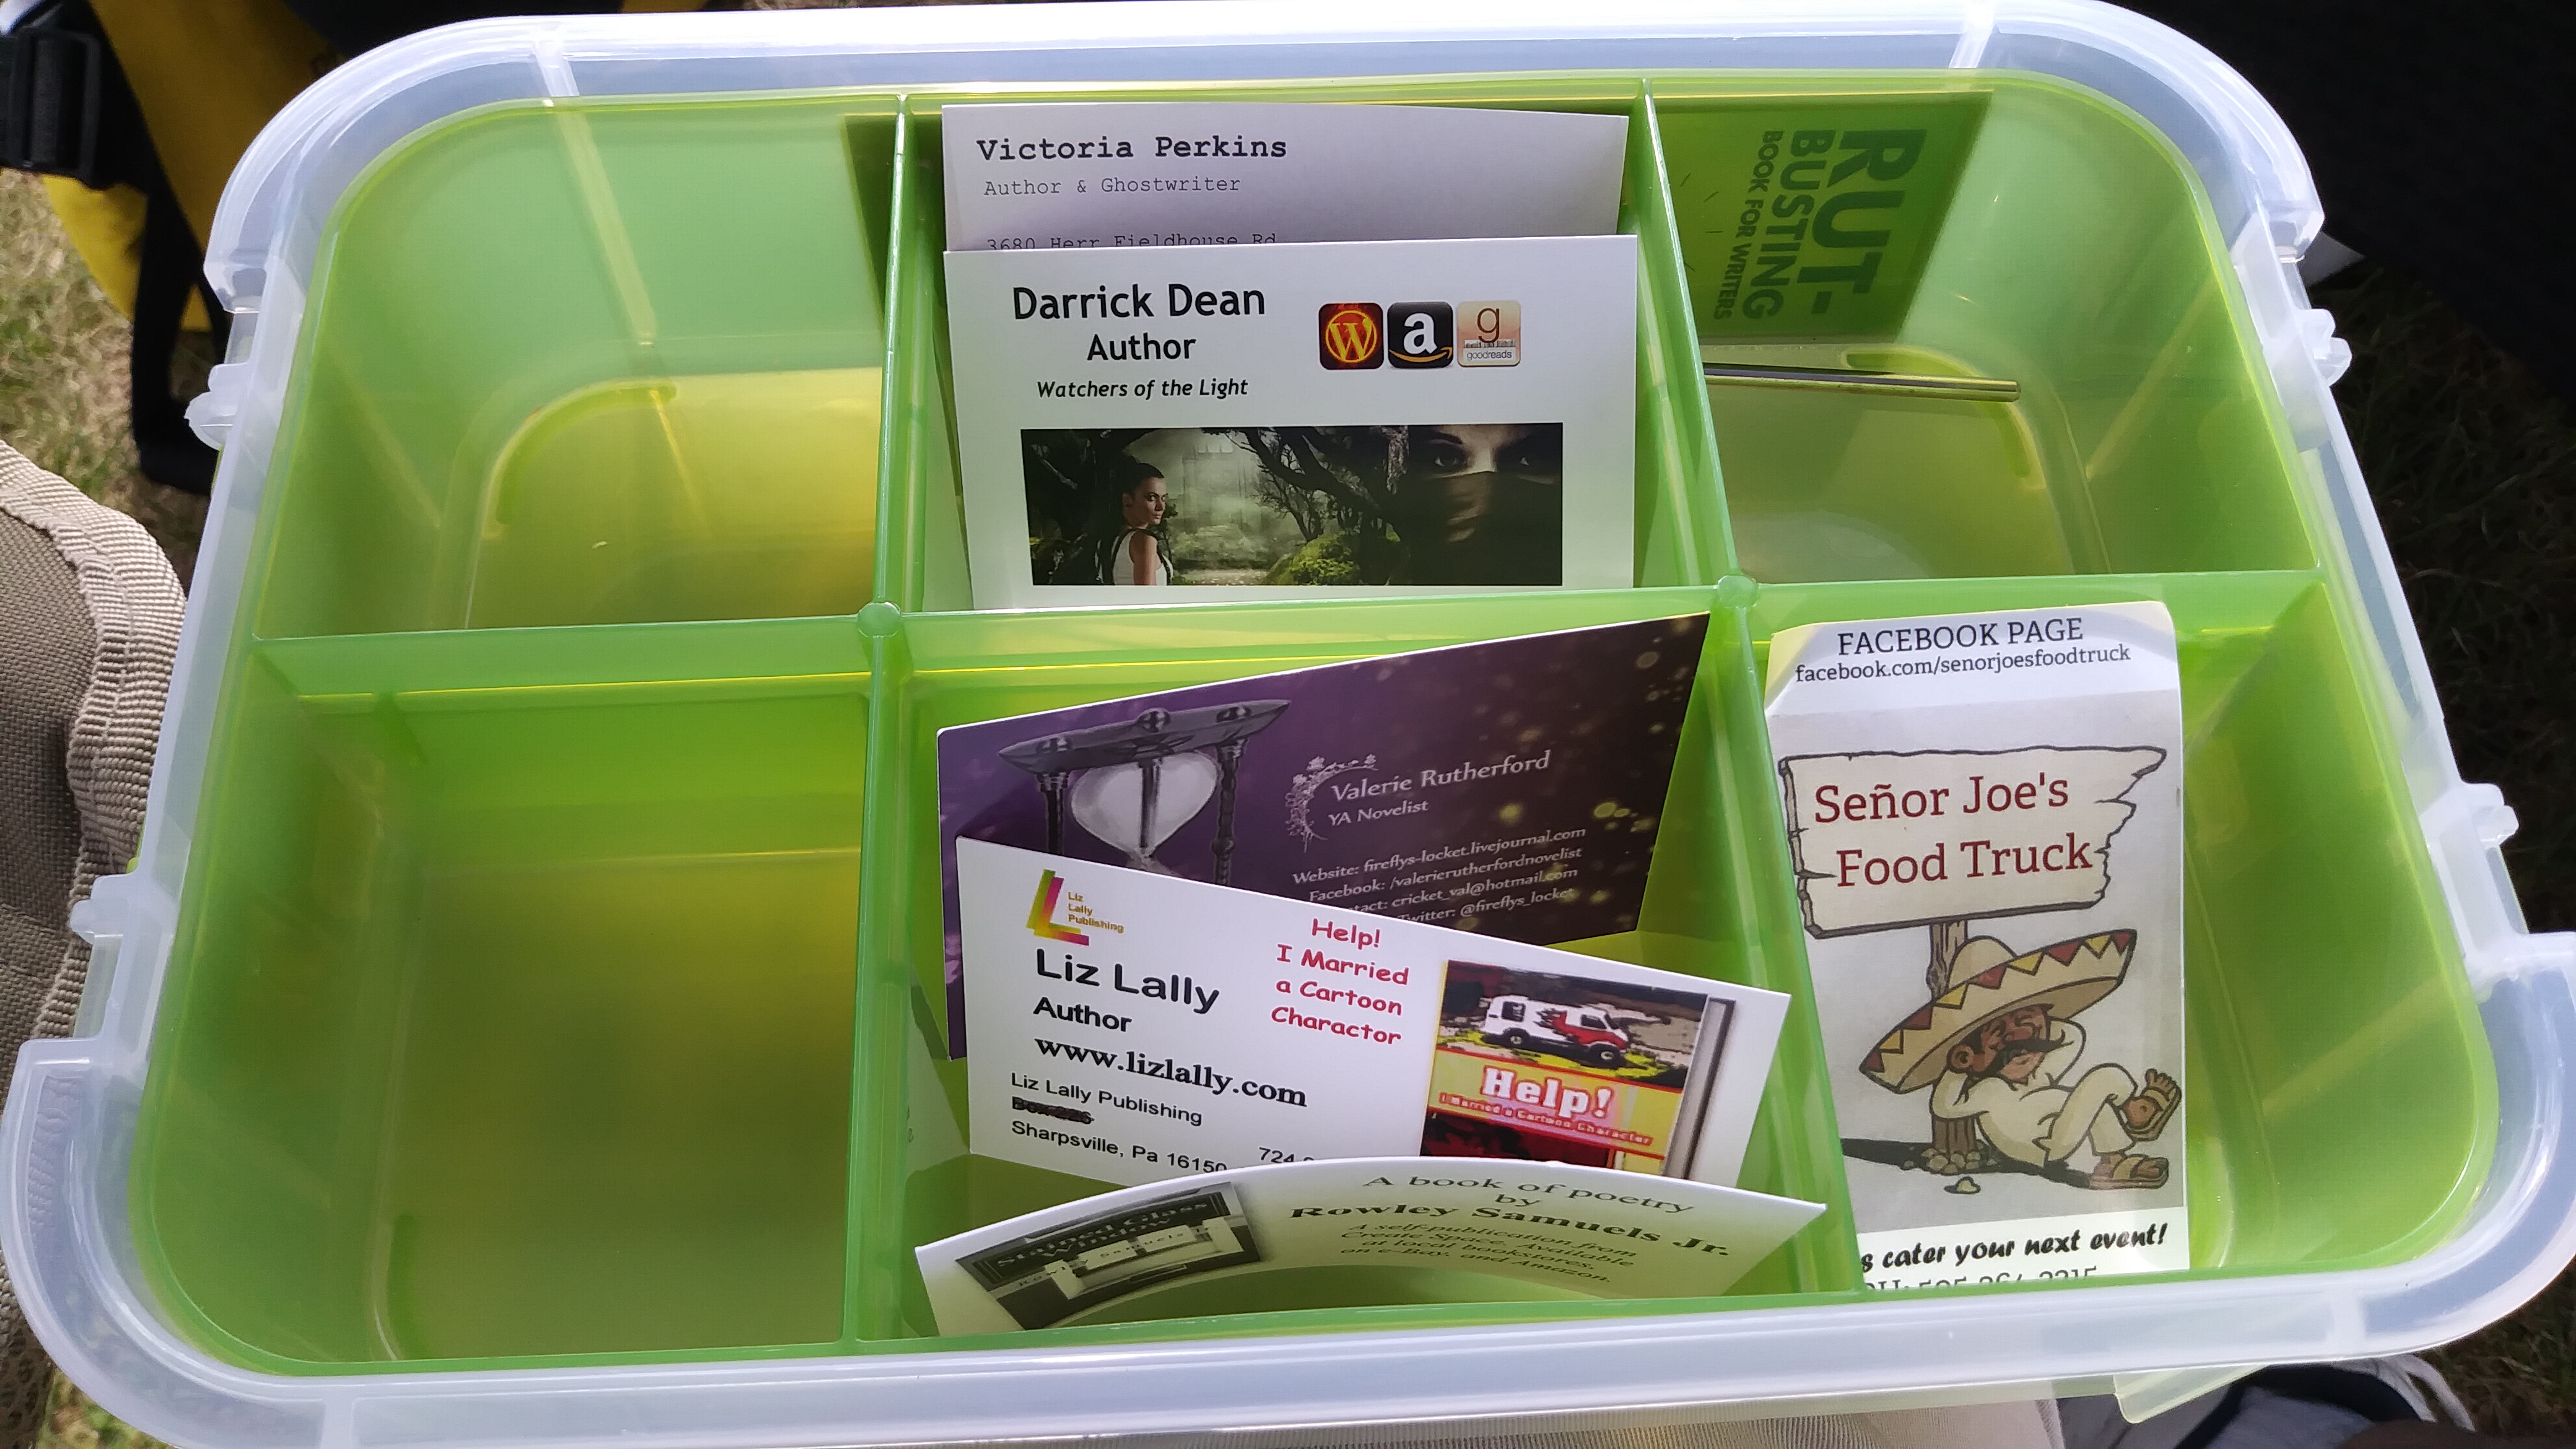
I keep everything I get from other authors and vendors that are also at events. I love networking with other authors. It allows me to join writing groups, like pages on social media, and get new marketing ideas. Never pass up an opportunity to work with other authors. They aren’t the competition, they’re just like you. The world has plenty of room for books.
So, that’s it for this series of blog posts. I hope these ideas help you sell books and make setting up your table much easier. Drop me a line if you have any questions. I love to hear from readers!